Non-contact measuring and Sorting systems for O-rings!
Hardness measurement - sophisticated quality management for O-rings
The hardness of O-rings is measured according to Shore A, Micro-Shore or IRHD (International Rubber Hardness Degree). KREMER has decided in favour of laser-supported Micro-Shore hardness measurement, as our customers want to see the hardness of the finished O-ring and not the Shore A hardness of the 6 mm thick material test plate documented.
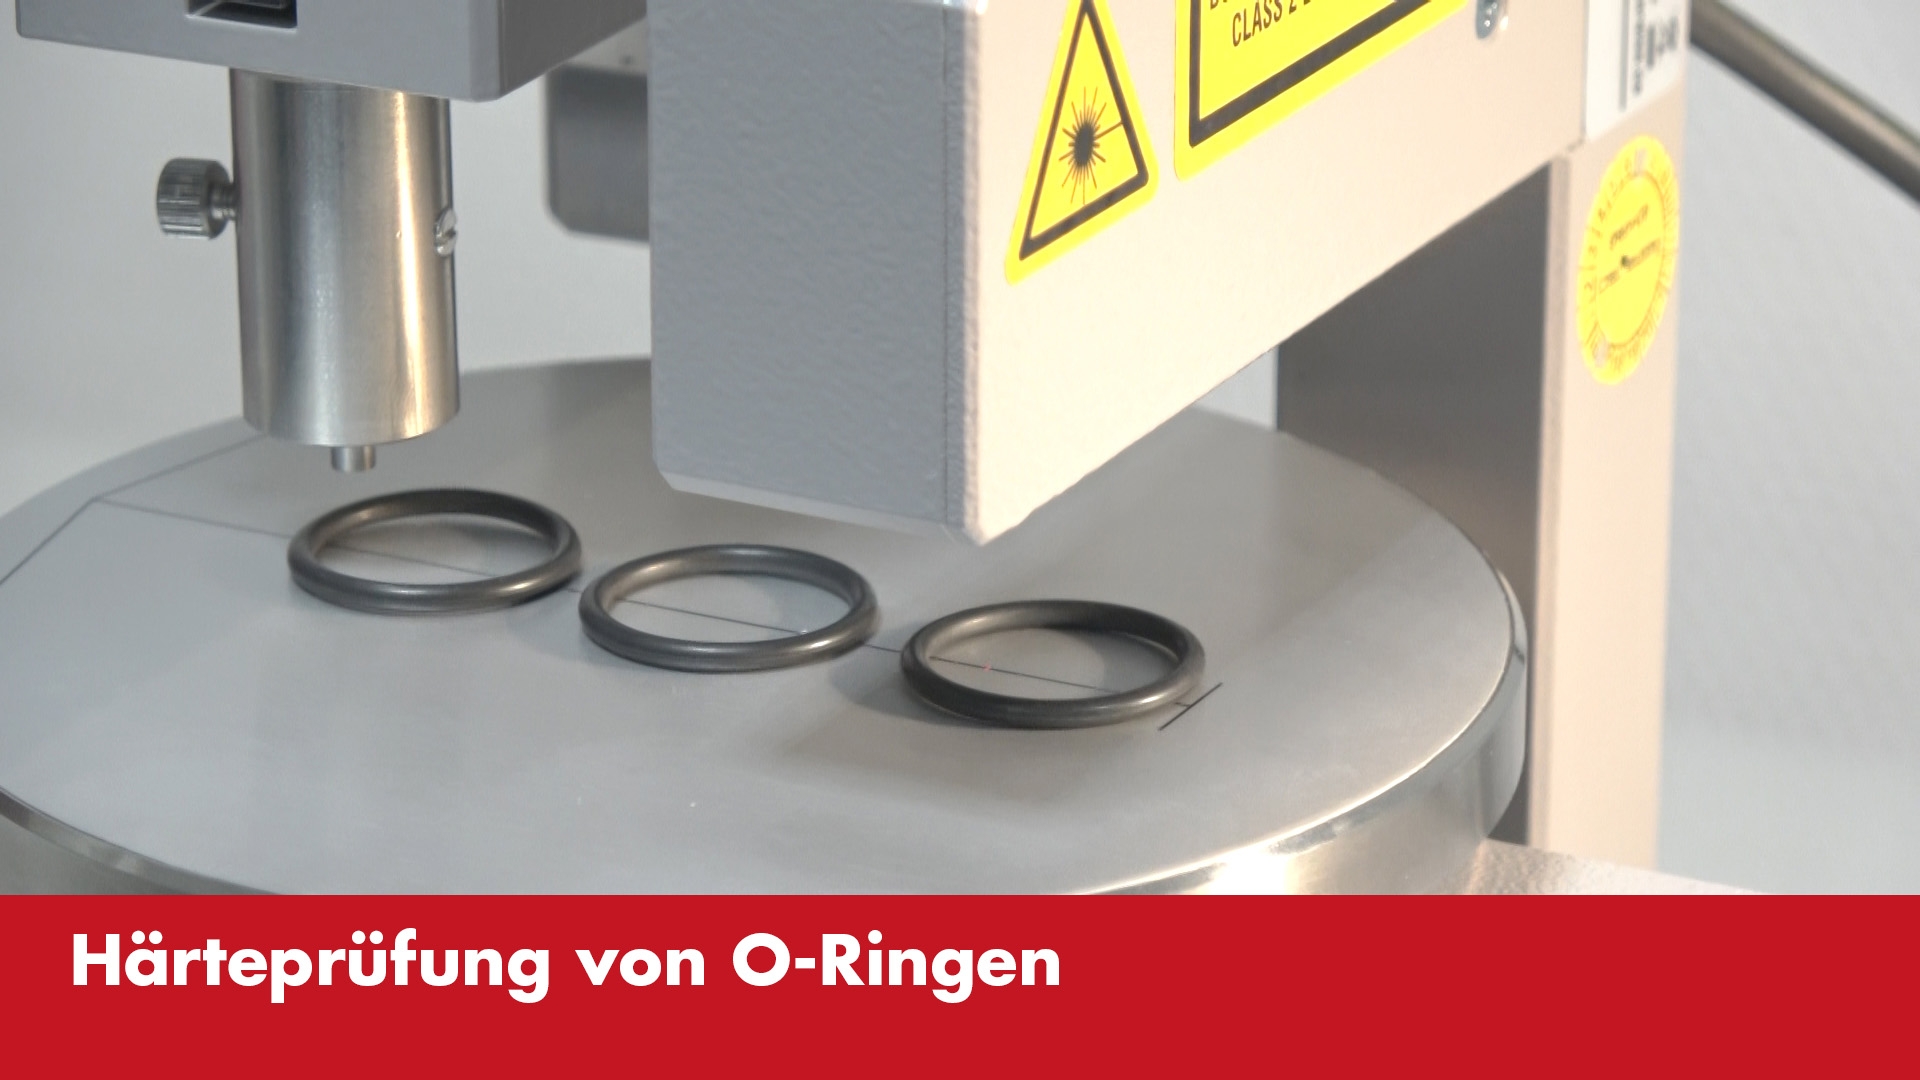
A measuring needle, known as an indenter, is placed on the surface of the product whose hardness is to be determined with a defined force and pressed down for a defined period of time. The more the object yields to the indenter, i.e. the deeper it can penetrate, the less hard the elastomeric material is. In the Shore A, micro-Shore and IRHD methods, the maximum hardness is specified as 100, the lowest as 0. The hardness of sealing materials most commonly used for industrial applications is 60 - 70 Shore A and is often referred to as "medium hardness". This specification can serve as an initial guide for non-experts.
Hardness measurement according to IRHD or Mirko-ShoreAt Kremer, IRHD hardness measurement on O-rings consists of three steps. Firstly, a laser-based measurement of the height of the O-rings is carried out and the highest point of the curved surface is determined. The measuring system is then calibrated to a value of 100, which indicates a material that cannot be penetrated. The measuring device now moves to the measuring point at which the measuring needle touches the highest point of the O-ring curvature with precisely defined pressure for 30 seconds and penetrates the O-ring to be measured. The value drops abruptly from 100 until it changes very little at the end of the measurement. Although the final measured values in IRHD and micro-Shore do not correspond exactly to the Shore A value determined on the six millimetre thick test plate of the elastomer used, they are sufficiently accurate to be able to make a statement about the hardness of the finished part.
The requirements for the surface structure of O-rings are becoming increasingly demanding. In addition to the miniaturisation of components, the surface structures of O-rings are also subject to increasing functionalisation.
According to DIN 3771, O-rings must be measured without contact and therefore non-destructively. This applies to the dimensions of the O-rings as well as to surface defects.
KREMER uses non-contact, opto-electronic measuring and sorting devices that provide very precise data and analyse a large number of quality-relevant parameters. Quality control can also be perfectly documented by optical measurement.
The optical-electronic measuring devices guarantee extremely precise measurements and the realisation of a sorting of previously clearly defined characteristics. This is the only way to separate good parts from bad parts with a zero error rate and fulfil the requirements for PPM rates, e.g. in the Automobilzulieferindustrie.
Contact


